Really beautiful presentation of emotion and artistry! I would like to call it an animated poetry 🙂
Blog
Great Post on Posing
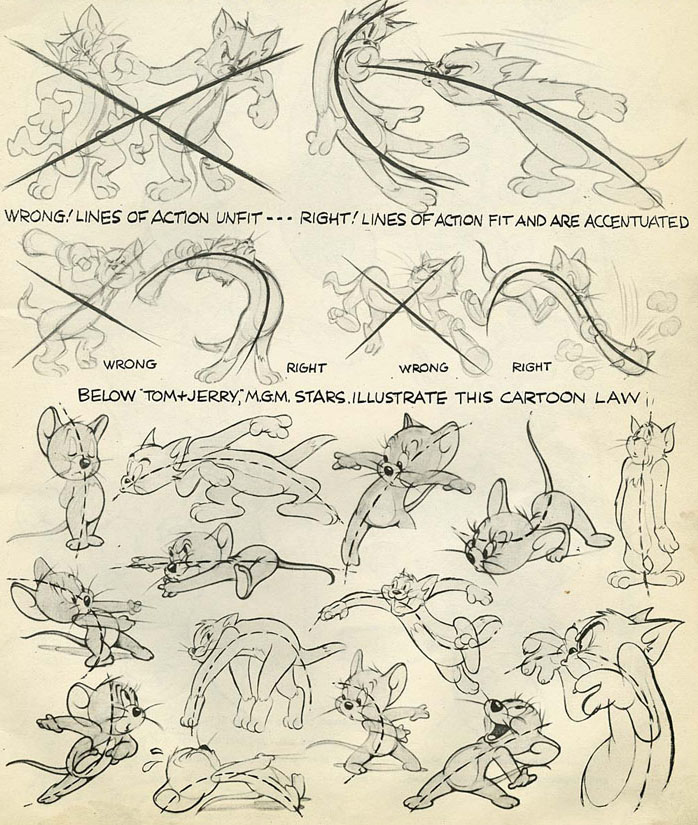
Here comes a great post on posing, staging, line of action and silhouette! Enjoy 🙂
Click Here for the link!
Hambuster
Burger Zombieland! This is insanely Epic … Awesome … WoW
The HongBOT

Meindbender ~ Pirate

Here is a CGSociety production coverage for Meindbender Studio’s Pirate! I really enjoyed the parrot rig demonstration. I loved the way they have created such unique and cartoony characters with a Stop Motion Claymation feel and art direction 🙂
Click Here for the link to the CGSociety coverage!
http://www.meindbender.com
SRB ~ pupPetEEr ToOls
Hello folks,
Here is a little technical demo of my custom rigging tools aka SRB ~ pupPetEEr ToOls!
Enjoy 😀
Image Metric’s Webinar Videos

For those who missed IM’s amazing webinar video presentation or just want to recap the session, can visit Image Metrics vimeo page to get a sneak peek on all videos. You can also check out there state of the art facial rigging videos and other cool stuffs which includes tips and tricks as well.
Click Here for the video links 🙂
Red9 Studio Pack

Ok, here seems to be a neat little tool for speeding up animation workflow. This tool comes with a combo pack of Node Search utility and some Animation Tools. I am gonna play with this tool for my animation projects for sure! For me this seems to be a must have recommended tool for animation workflow. Thanks to the Red9 Studio for the share 😉
Ghangzong “Himalayan” Sir

A little OFF Topic material again rather than the regular CG stuffs! Ok, here is a really remarkable person and a very good friend of mine, Binod! For the past 6 years he have been volunteering and educating children and peoples living in Dolpa (one of the remotest places in Nepal). Whatever he earns and make from fund raising goes to establishing school in Dolpa. He is know as Ghangzong Sir (Himalayan Dolpa Sir) by the local community and praised by them. His struggle, effort and spirit is still unheard by lot of people so I helped him make a blog and a facebook group to share what he have in his mind! I wish him the very best on his endeavors and more than willing to support 🙂
Click Here to visit his Blog. Whenever he get’s some time off from his work he will keep us posted from his blog!
IM Webinar ~ Facial Rigging – Balancing Quality And Control- Part II

Ok here comes the 2nd part of the facial rigging webinar session conducted by Image Metrics. Joining Jay for part 2 of the facial rigging webinar will be Vladimir Mastilovic, Image Metrics’ lead rigger and one of the most experienced facial riggers in the industry. Vlad and Jay will be discussing the different types of facial rigs IM has used over the years, both from a technical stand point as well as the methodologies behind their creation.They ‘ll also be taking an inside look at the facial rigs used in Crytek’s Crysis 2, built by Image Metrics.
Looking forward to joining the webinar on 26th April @ 2:45 AM Nepal Time 😉
Here are the links on more info if you wish to join this wonderful webinars …
Click here for IM Forum
Click here for Registration